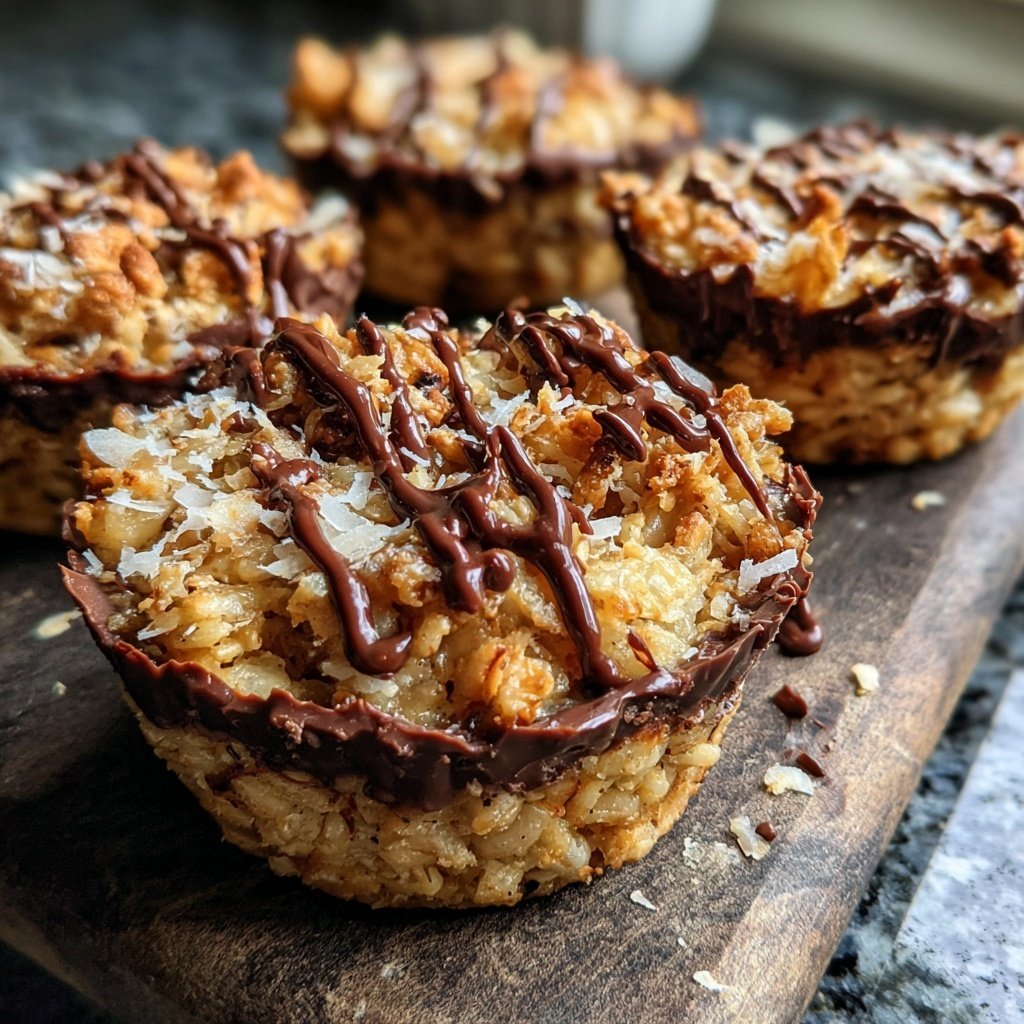
Homemade Reese’s Cups with Crispy Rice
Highlighted under: Classic Food
I can’t express how thrilling it is to make my own version of Reese’s Cups at home, especially with the added crunch of crispy rice. The process is surprisingly simple and allows me to customize each cup to my liking. I love the way the creamy peanut butter melds with the rich chocolate, enhanced by the delightful texture of the crispy rice. These homemade treats are not only a nostalgic indulgence but a perfect way to share a little sweetness with friends and family.
When I first attempted to create homemade Reese’s Cups, I knew I wanted to elevate them beyond the classic recipe. Adding crispy rice seemed like the perfect way to incorporate some fun crunch without overpowering the creamy texture. After a few test batches, I found that balancing the chocolate and peanut butter was key to achieving that perfect flavor. The secret really lies in melting the chocolate gently to ensure a smooth finish on each cup.
I also learned that allowing the cups to set at room temperature rather than in the fridge creates a better mouthfeel as they retain just the right amount of creaminess. Each bite is a delightful balance of textures, exactly what I had hoped for! It’s been a treat to share these with family, and they’ve quickly become a favorite.
Why You Will Love This Recipe
- Rich chocolate flavor perfectly complemented by creamy peanut butter
- Delightful crunch from crispy rice adds a unique twist
- Easy to make and perfect for sharing on any occasion
The Importance of Quality Ingredients
Choosing high-quality chocolate is essential for achieving the best flavor in your homemade Reese’s Cups. Milk chocolate chips with good cocoa content will melt down into a rich, smooth layer that enhances the overall taste. Avoid chocolate with excessive additives, as they can affect the melting properties and leave a waxy texture. For a deeper flavor, consider using chocolate that is at least 50% cocoa solids.
The creamy peanut butter you select also impacts the texture and taste of your cups. Natural peanut butter tends to be less sweet and oily, which can offer a more authentic peanut flavor. If you're going for a specific dietary need, look for nut butters that are free from added sugars and hydrogenated oils, as these can lead to a greener balance in flavors.
Perfecting the Peanut Butter Filling
The peanut butter filling is where you can truly customize your Reese’s Cups. Mixing in crispy rice adds a delightful crunch that contrasts beautifully with the smooth chocolate layers. Be sure to fold the crispy rice gently into the peanut butter mixture, as overmixing can result in breaking down the rice and losing that sought-after texture. Aim for a ratio where the crunchy cereal is well distributed but still remains intact.
If you'd like to adjust the sweetness or creaminess of your filling, consider substituting powdered sugar with coconut sugar or agave for a healthier take. Keep in mind that these alternatives may slightly alter the consistency of your filling, so adjust accordingly by adding a bit more peanut butter or crispy rice as needed.
Storage and Serving Suggestions
To store your homemade Reese’s Cups, keep them in an airtight container in the refrigerator. This preserves their shape and ensures the chocolate remains firm. They can last up to two weeks in the fridge, but I find they rarely last that long! For longer storage, consider freezing them. Just layer the cups with parchment paper in an airtight container, and they will hold up well for up to three months.
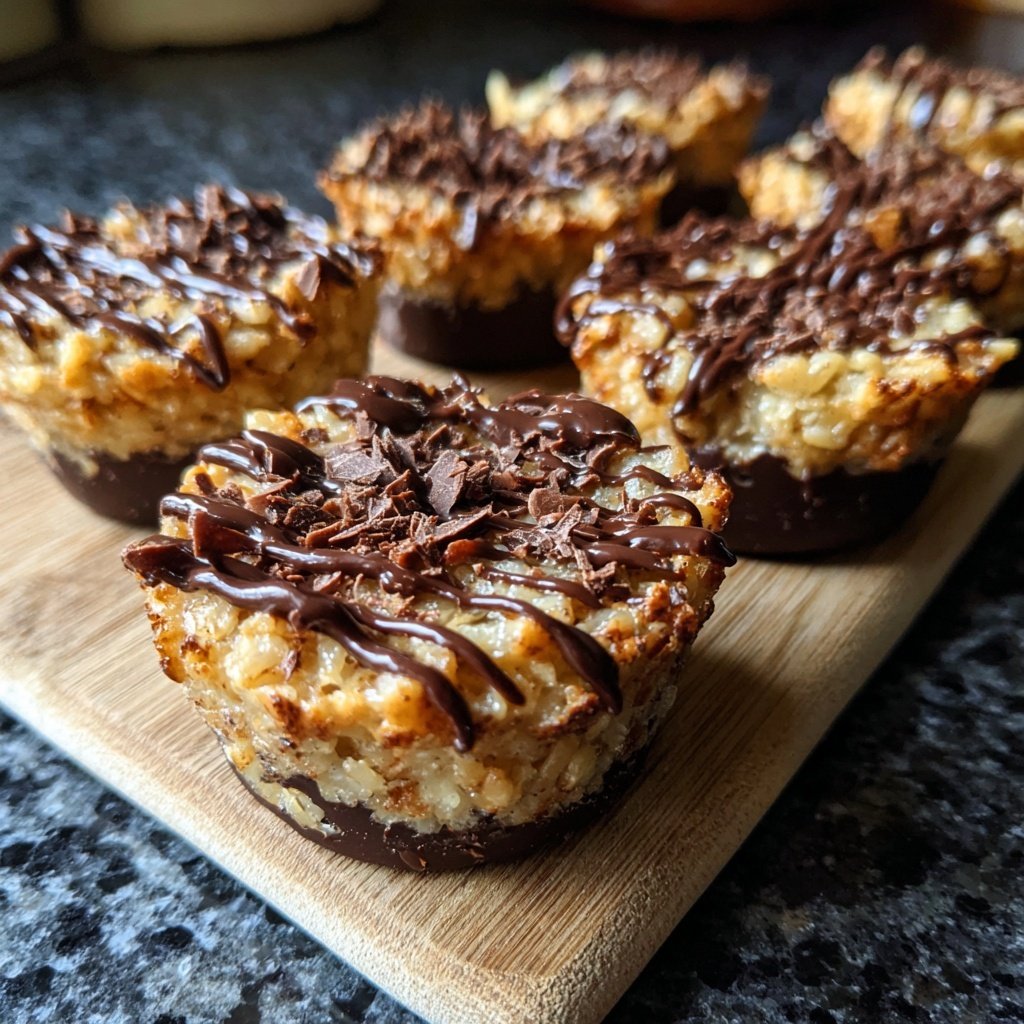
When it comes to serving, feel free to elevate your treats by drizzling melted dark chocolate over the top for a stylish finish. You can also sprinkle a pinch of sea salt before they set for an extra flavor boost. These homemade Reese’s Cups make great gifts or party favors when beautifully packaged, bringing a personal touch to your sweet creations.
Ingredients
Gather these ingredients to make your delicious Homemade Reese’s Cups with Crispy Rice!
For the Cups
- 1 cup creamy peanut butter
- 1 cup milk chocolate chips
- 1/2 cup crispy rice cereal
- 1/4 cup powdered sugar
- 1 teaspoon vanilla extract
For Topping
- 1/2 cup dark chocolate chips
Now that you have everything together, let’s move on to the steps!
Instructions
Follow these steps to create your own Reese’s Cups!
Prepare the Chocolate Layer
Melt the milk chocolate chips in a microwave-safe bowl in 30-second intervals, stirring in between until smooth.
Form the Cups
Line a muffin tin with cupcake liners. Spoon a tablespoon of melted chocolate into the bottom of each liner, tilting the tin to coat the sides slightly. Place in the freezer for 10 minutes.
Make the Filling
In a bowl, mix peanut butter, crispy rice, powdered sugar, and vanilla until well combined.
Fill the Cups
Once the chocolate is set, add a generous spoonful of the peanut butter mixture to each cup, spreading it evenly.
Top with Chocolate
Cover the peanut butter layer with the remaining melted chocolate, ensuring it is fully covered. Freeze for an additional 10 minutes until set.
Serve and Enjoy
Remove from the muffin tin and peel away the liners. Enjoy your homemade treats!
These are best enjoyed fresh but can be stored in an airtight container for a week!
Pro Tips
- For a more decadent experience, feel free to mix in some crushed nuts or sprinkle sea salt on top before the final chocolate layer sets.
Tips for Successful Melting
Melting chocolate can be tricky, so take your time and use a microwave-safe bowl. Heat the chocolate chips in 30-second intervals, stirring after each session to evenly distribute the heat. This method prevents overheating and ensures a glossy, smooth consistency. If you see a few unmelted pieces, don't rush them back into the microwave; simply stir continuously until they melt into the melted chocolate.
Alternatively, you can use a double boiler for a more controlled melting process. Gently simmer water in a pot and place a heatproof bowl on top, being cautious to avoid direct contact with the water. The steam will melt the chocolate evenly, reducing the risk of burning it.
Variation Ideas
If you're feeling adventurous, experiment with flavors by adding ingredients to the peanut butter mixture. A teaspoon of cinnamon, a dash of sea salt, or even a splash of maple syrup can elevate the flavors and make each batch unique. You could also swap the milk chocolate for white chocolate for a sweeter treat that pairs well with the peanut butter's nuttiness.
For those who desire a lighter version, consider using Greek yogurt mixed with peanut butter instead of straight peanut butter. It will provide a different texture and flavor profile but still remain deliciously satisfying. Remember to decrease the powdered sugar slightly to accommodate for the sweetness in flavored yogurts.
Questions About Recipes
→ Can I use dark chocolate instead of milk chocolate?
Absolutely! Dark chocolate will add a richer flavor and pairs wonderfully with the sweetness of the peanut butter.
→ How should I store the Reese’s Cups?
Store them in an airtight container at room temperature or in the refrigerator for a firmer texture.
→ Can I make these vegan?
Yes, substitute the milk chocolate chips with dairy-free chocolate and use a plant-based peanut butter.
→ What can I use instead of powdered sugar?
You can use coconut sugar or make a simple homemade powdered sugar by blending granulated sugar.
Homemade Reese’s Cups with Crispy Rice
What You'll Need
For the Cups
- 1 cup creamy peanut butter
- 1 cup milk chocolate chips
- 1/2 cup crispy rice cereal
- 1/4 cup powdered sugar
- 1 teaspoon vanilla extract
For Topping
- 1/2 cup dark chocolate chips
How-To Steps
Melt the milk chocolate chips in a microwave-safe bowl in 30-second intervals, stirring in between until smooth.
Line a muffin tin with cupcake liners. Spoon a tablespoon of melted chocolate into the bottom of each liner, tilting the tin to coat the sides slightly. Place in the freezer for 10 minutes.
In a bowl, mix peanut butter, crispy rice, powdered sugar, and vanilla until well combined.
Once the chocolate is set, add a generous spoonful of the peanut butter mixture to each cup, spreading it evenly.
Cover the peanut butter layer with the remaining melted chocolate, ensuring it is fully covered. Freeze for an additional 10 minutes until set.
Remove from the muffin tin and peel away the liners. Enjoy your homemade treats!
Extra Tips
- For a more decadent experience, feel free to mix in some crushed nuts or sprinkle sea salt on top before the final chocolate layer sets.
Nutritional Breakdown (Per Serving)
- Calories: 200 kcal
- Total Fat: 13g
- Saturated Fat: 3g
- Cholesterol: 0mg
- Sodium: 60mg
- Total Carbohydrates: 17g
- Dietary Fiber: 1g
- Sugars: 8g
- Protein: 5g