Homemade Reese’s Cups with Date Sweetener
Highlighted under: Simple Food
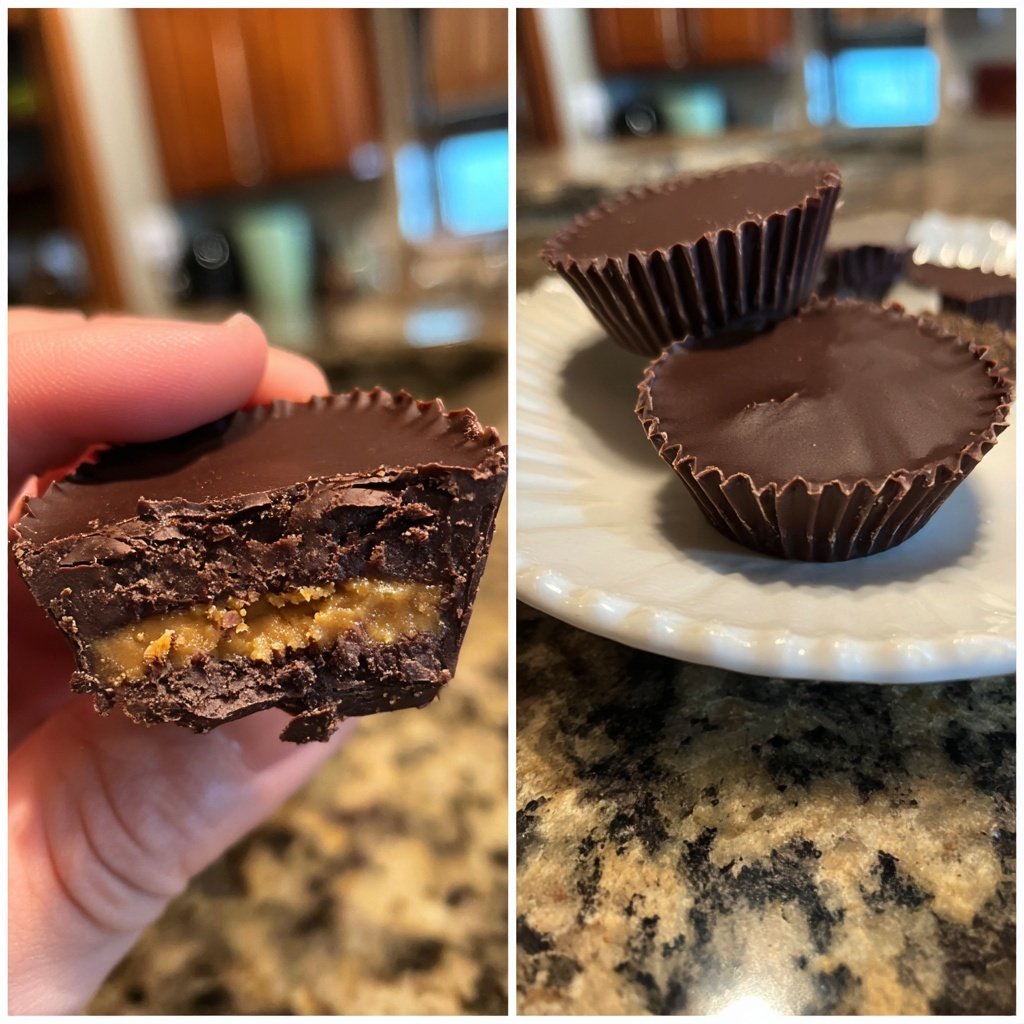
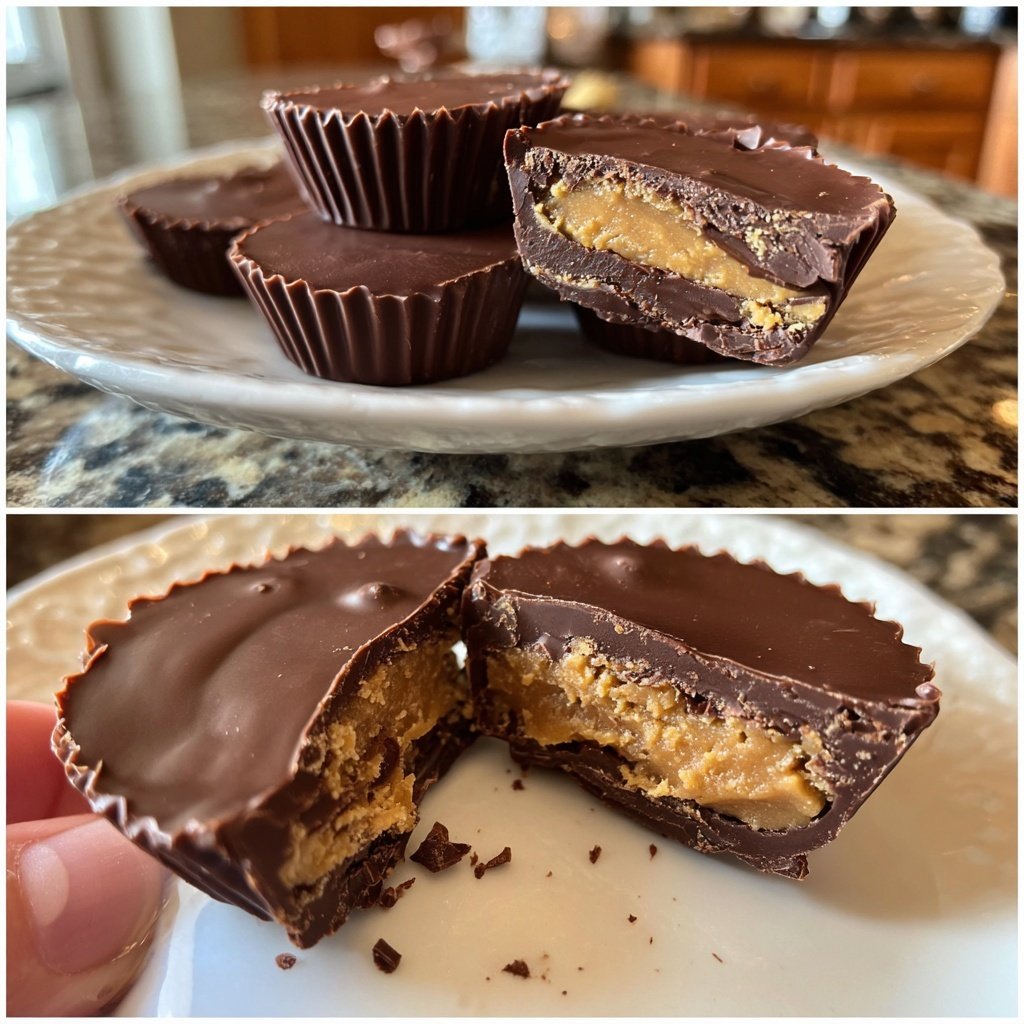
I absolutely love making these Homemade Reese’s Cups with Date Sweetener because they allow me to indulge in a classic treat without the guilt. The rich, chocolatey exterior combined with the creamy peanut butter filling sweetened naturally with dates is a dream come true. Not only are they easy to make, but they also satisfy my sweet cravings healthily. Every time I prepare this recipe, I’m reminded of how simple ingredients can come together to create something truly delightful!
Every time I get into the kitchen to make these delicious cups, I remember the first time I tried something similar. I wanted to recreate that feeling but with a healthier twist. By using date sweetener instead of refined sugar, I achieved that rich sweetness I craved while also adding nutritional value. It's a win-win!
One tip I've learned is to ensure your chocolate coating is tempered properly. This helps it achieve that perfect glossy finish, and it’s easier to bite into without cracking. It’s all about that texture for the ultimate homemade Reese’s cup experience!
Why You'll Love This Recipe
- Rich chocolate flavor paired with natural date sweetness
- Creamy peanut butter filling with a hint of sea salt
- A healthier alternative to store-bought treats
Understanding Your Ingredients
Using dark chocolate chips in this recipe not only gives a rich flavor but also offers health benefits over milk chocolate. Choose high-quality chocolate, ideally with at least 70% cocoa content, for a more intense taste. If you're looking for dairy-free options, ensure the chocolate is explicitly labeled as vegan. Adding coconut oil to the chocolate helps achieve a smoother texture and a beautiful shine once set. The oil also aids in consistency, allowing the chocolate to flow easily over the filling.
The date paste is a crucial element in this recipe as it provides natural sweetness without refined sugars. When making date paste, I recommend using Medjool dates for their soft texture and caramel-like flavor. Soak them in warm water for about 10 minutes if they're too firm to blend easily. This subtle sweetness pairs beautifully with the savory notes of peanut butter, but you can adjust the amount based on your preference.
Mastering the Technique
Melting chocolate requires care to avoid burning, which can ruin your coating. Always use a microwave-safe bowl and melt in short intervals, checking every 30 seconds. When the chocolate is mostly melted, remove it from the microwave and continue stirring until smooth and glossy—this prevents overheating. It’s important to let the chocolate cool slightly before pouring it into the muffin liners, as overly hot chocolate can cause the peanut butter filling to melt when layered.
Chilling the cups in the refrigerator is essential for achieving the perfect texture. Allow at least 30 minutes for the chocolate to firm up completely, but if you're in a rush, placing them in the freezer for 10-15 minutes can work, too. Just keep an eye on them to avoid freezing, which can change the texture of the chocolate. Once set, they should easily peel away from the liners, revealing a beautifully formed and intact cup.
Ingredients
Gather these simple ingredients to make your homemade Reese’s cups:
For the Chocolate Coating
- 1 cup dark chocolate chips
- 1 tablespoon coconut oil
For the Peanut Butter Filling
- 1 cup natural peanut butter
- 1/2 cup date paste (prepared from blended dates)
- 1/4 teaspoon vanilla extract
- A pinch of sea salt
Make sure to have these ingredients on hand for a smooth cooking process!
Instructions
Follow these steps to create your delicious homemade Reese’s Cups:
Prepare the Chocolate Coating
Melt the dark chocolate chips and coconut oil together in a microwave-safe bowl, heating in 30-second intervals and stirring until smooth.
Make the Peanut Butter Filling
In another bowl, mix the peanut butter, date paste, vanilla extract, and sea salt until well combined and smooth.
Layer the Ingredients
Pour a spoonful of melted chocolate into the bottom of muffin liners in a muffin tin. Let it set for a few minutes.
Add the Filling
Scoop the peanut butter filling on top of the chocolate layer, smoothing it out evenly.
Finish with Chocolate
Pour more melted chocolate over the filling to cover it completely. Tap the tin gently to remove air bubbles.
Chill and Set
Refrigerate for at least 30 minutes until the chocolate is firm.
Enjoy Your Treats
Once set, peel the cups from the liners and enjoy these delightful homemade Reese's Cups!
Now you can share these delicious treats with friends or keep them all to yourself!
Pro Tips
- For a fun twist, try adding a sprinkle of sea salt on top of the chocolate before it sets for a delightful sweet and salty contrast.
Storage and Shelf Life
These homemade Reese's Cups can be stored in an airtight container in the refrigerator for up to two weeks. If you want to extend their shelf life, consider freezing them. Individually wrap each cup in parchment paper and place them in a freezer-safe bag. They can last for about three months in the freezer. To enjoy, simply let them thaw in the refrigerator for a few hours or at room temperature for about 30 minutes before indulging.
When storing, keep in mind that homemade chocolate can be sensitive to moisture. Ensure that they are completely dry before sealing in a container to prevent unwanted texture changes. If you're concerned about retention of quality, consider using wax paper between layers to avoid sticking.
Serving Suggestions and Variations
For an elevated presentation, consider garnishing the tops of your cups with a sprinkle of sea salt or crushed nuts for added texture. You can also experiment by adding a layer of caramel sauce between the peanut butter filling and the chocolate coating for an indulgent twist. If you prefer a different nut butter, almond or cashew butter can work equally well, providing unique flavors that complement the chocolate.
Creating a variety of flavors can also be fun! Try folding in the zest of orange or a splash of espresso powder into the peanut butter filling for a new experience. Just remember, adjusting flavors may affect the sweetness, so taste and modify the date paste accordingly for balance.
Questions About Recipes
→ Can I use milk chocolate instead of dark chocolate?
Yes, you can use milk chocolate, but it will alter the flavor profile slightly, making it sweeter.
→ How do I prepare date paste?
Simply blend pitted dates with a little water until smooth to create date paste.
→ Can I use other nut butters?
Absolutely! Almond butter or cashew butter work beautifully as alternatives to peanut butter.
→ How do I store these Reese’s cups?
Store them in an airtight container in the refrigerator for up to two weeks.
Homemade Reese’s Cups with Date Sweetener
Created by: Yasmin Thornton
Recipe Type: Simple Food
Skill Level: Intermediate
Final Quantity: 12 cups
What You'll Need
For the Chocolate Coating
- 1 cup dark chocolate chips
- 1 tablespoon coconut oil
For the Peanut Butter Filling
- 1 cup natural peanut butter
- 1/2 cup date paste (prepared from blended dates)
- 1/4 teaspoon vanilla extract
- A pinch of sea salt
How-To Steps
Melt the dark chocolate chips and coconut oil together in a microwave-safe bowl, heating in 30-second intervals and stirring until smooth.
In another bowl, mix the peanut butter, date paste, vanilla extract, and sea salt until well combined and smooth.
Pour a spoonful of melted chocolate into the bottom of muffin liners in a muffin tin. Let it set for a few minutes.
Scoop the peanut butter filling on top of the chocolate layer, smoothing it out evenly.
Pour more melted chocolate over the filling to cover it completely. Tap the tin gently to remove air bubbles.
Refrigerate for at least 30 minutes until the chocolate is firm.
Once set, peel the cups from the liners and enjoy these delightful homemade Reese's Cups!
Extra Tips
- For a fun twist, try adding a sprinkle of sea salt on top of the chocolate before it sets for a delightful sweet and salty contrast.
Nutritional Breakdown (Per Serving)
- Calories: 200 kcal
- Total Fat: 14g
- Saturated Fat: 6g
- Cholesterol: 0mg
- Sodium: 75mg
- Total Carbohydrates: 18g
- Dietary Fiber: 2g
- Sugars: 8g
- Protein: 5g